Yes, I introduced myself as Naughty Natali at the start of this video. We’re moving on.
I’m Natali Blake, beauty school graduate, NVQ in hairdressing, and currently managing in the beauty industry. I have a habit of telling people I’m “not really a professional” and I’m working on that because it’s genuinely not true. I just love makeup too much to be precious about it, which is exactly how I ended up ordering a pile of AliExpress products and deciding to road-test them through a five-hour live show under conditions that can only be described as unhinged.
The setup 65,000 lumens total lighting between front and overhead, aimed at my face for five hours. And somewhere in the middle of all that I spent twenty minutes wrestling a seven-foot mannequin into position in front of a live audience. I am a small woman. The mannequin was not cooperative. The show went on.
If my makeup could survive that, it can survive anything. .
Here’s what happened, Watch Free.
Before the AliExpress Stuff
I did my usual skincare prep first, tonic, moisturiser, serum. One of the perks of working in the beauty industry is access to products that aren’t publicly available yet, so I’m not going to name everything in my skincare routine because honestly some of it you can’t buy. I also layered my regular Dermacol foundation underneath as a base, it’s a Czech brand, lightweight, never cakey, and it has exactly the right shade for me. Then I got into the haul.
The Products
Veroni Pure White Foundation Cream £2.40
The tiny bottle made me assume it would be weak and patchy. I was completely wrong. The coverage is extraordinary, proper full coverage from a product that costs less than a coffee. It blends smoothly, has a genuinely pleasant soft smell, and doesn’t go patchy as it dries. I know this because I got it on my jeans before the show even started and it stained them immediately. That tells you everything about the pigment level.
This is not an everyday foundation, it’s a brilliant theatrical white for Halloween, cosplay, gothic makeup, or anything that needs a true white base. I’ll absolutely be using it again. It’s going straight into my kit for those looks.
Fingers work better than a sponge with this one. The warmth of your fingers helps the product blend into the skin more naturally than a tool would, and because the pigment is so extraordinarily intense, you need far less product than you think. Start with a tiny amount, work it in fully, and then assess before adding more. It is very easy to go too heavy too fast with this foundation. Blend it out in small circular motions and give it a moment to settle before layering. It smooths out without patchiness as long as you do not rush it. For spot coverage, press it directly onto the area and blend the edges outward. For a full face theatrical white base, work it across the skin in sections rather than trying to cover everything at once. Keep it away from anything you do not want permanently stained.
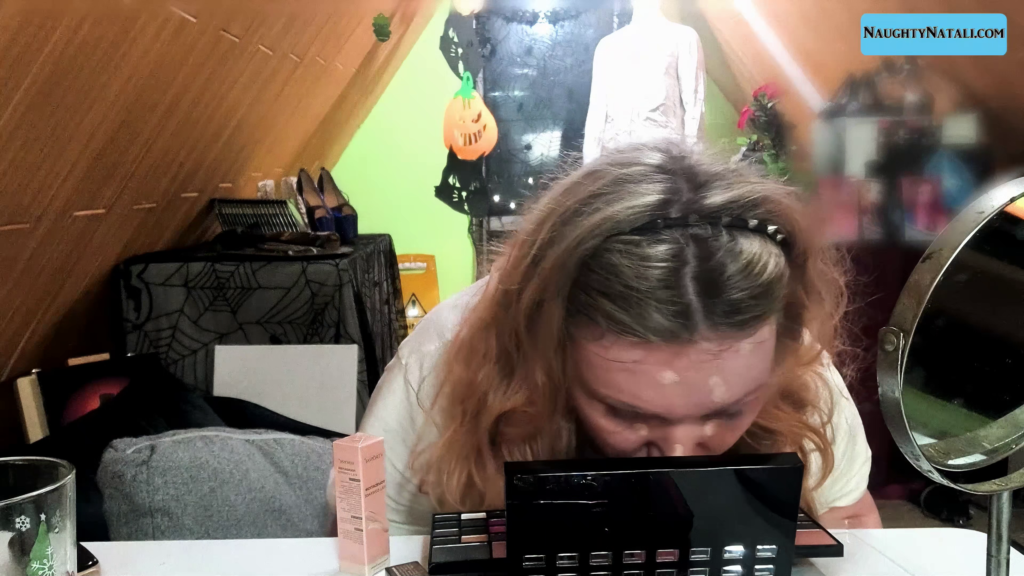
74-Colour Glitter Eyeshadow Palette £12.03
This was the one I was most nervous about. Unknown brand, 4.5 stars on AliExpress, that could go either way. When you first open it the smell gives you a moment’s pause, but it genuinely wasn’t bad enough to be a dealbreaker. The palette has everything: eyeshadows, blush, contour, colour correctors, highlighter, glitter, lip colours. All in one place, which is actually really useful when you’re getting ready in a hurry.
Because I was performing to cameras under brutal stage lighting, I packed the contour on much harder than I would in everyday life. That’s the right call for anyone doing video or stage work, cameras eat contrast, so what looks heavy in person reads as normal on screen. The palette gave me everything I needed and handled it well.
How to Apply: 74-Colour Palette
The eyeshadows are the most challenging element of this palette and they require a slightly different approach than you might be used to. The pigment tends to sit stubbornly in one spot rather than diffusing evenly across the lid, which means a fluffy blending brush can actually work against you here. Fingers give you more control, particularly with the shimmer and glitter shades, because you can press the colour into place and work it with more precision. For matte shades, a brush is fine but use a packing motion rather than a sweeping one. For contour, load a brush and apply it significantly heavier than feels comfortable in person. This is not a palette for subtle contour in performance or video contexts. What reads as too much in your mirror reads as correct on camera and under strong lighting. The smell when you first open the palette comes from the adhesive holding everything in place rather than the products themselves, and it becomes much less noticeable once you begin working with the individual shades.
YANQINA Liquid Eyeliner & Mascara Set £1.97
Two very different stories in one box.
The eyeliner is precise and fine enough to work with, but it has a frustrating habit of drying out mid-stroke, especially on the wing. I had to go back over multiple sections to build it up properly. Symmetry was a battle. If you’re using this, give yourself more time than you think you need and work in short strokes rather than one confident sweep.
The mascara is a different problem entirely. It dries on your lashes so fast that building up coats becomes a genuine struggle. It smudged on contact with skin. At one point it took one of my actual eyelashes with it on the wand. The 4D claim is, let’s say, optimistic. I wanted to reach for my regular mascara the entire time I was applying it.
How to Apply: Liquid Eyeliner
The single most important thing to know about this eyeliner is that the formula dries out during application, particularly mid-stroke, so the technique needs to adapt to that. A single long confident sweep for the wing is not going to work reliably here. Instead, work in short deliberate strokes and build the line up in sections, connecting them as you go. This takes longer but gives you far more control over the result. For the wing specifically, sketch the angle and length first in two or three short strokes and then fill in the shape rather than attempting the classic flick from the lash line. If the tip starts to feel scratchy or drag against the skin, it is drying out and pushing harder will not help. Ease off, let it recover slightly, and continue. Once the liner is fully dry it performs well, so the additional patience during application pays off. Symmetry is always a challenge with liquid liner and this one is no different, so budget time for corrections.
How to Apply: Mascara
Speed matters more with this mascara than with most. The formula dries quickly both on the wand and directly on the lashes, which means the window for building up coats is shorter than you are probably used to. Do not let it sit between coats and do not pause mid-application to do something else. Go straight back in while the previous layer still has some give to it. The wand technique also makes a difference here. Wiggle it at the root of the lashes to deposit product at the base, then pull slowly through to the tip in one motion rather than pumping the wand in and out of the tube, which introduces air and dries the formula out faster. The product will transfer onto the skin while it is wet, so keep the area underneath the eye clean as you go and deal with any smudges immediately rather than leaving them to dry. It is worth being realistic about what this mascara can do in a high heat or high activity context and planning accordingly.
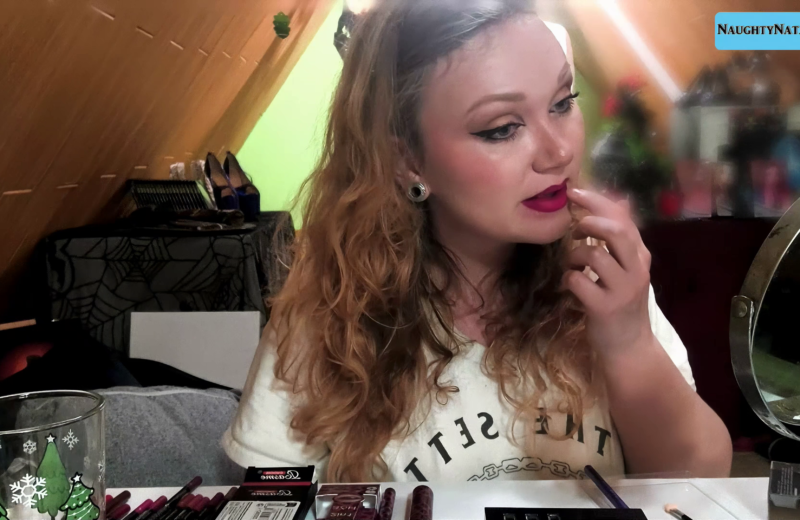
MLSmile Glitter Lipstick in Black, Shade 90 £1.32
Shade 90 is a deep, glittery black and it looks genuinely striking. The packaging fought me, there’s a tear line that simply did not work, but once I got into it the colour payoff is dramatic and the glitter catches stage light beautifully. I applied it over the lip liner as a base, which is the right approach with any glitter lip product. The lips ended up a little outside the lines because my Q-tips were downstairs and I made my peace with it. Very rock and roll.
How to Apply: Glitter Lipstick in Black
The colour payoff on this is immediate and intense, which means restraint is required from the very first application. Load a small amount onto the lip and press it in rather than sweeping it across, because sweeping distributes the glitter unevenly and can shift the liner base underneath. Build it up in thin layers and check after each one, because it is much easier to add more than to correct an overload. Work slowly and carefully around the edges because the glitter particles catch light in every direction, which means any mistakes are just as visible as the colour itself. Keep a cotton bud within reach before you start. Applying over a fully filled lip liner base gives the product something to bond to and extends the wear considerably, which matters because on its own the formula will not survive a long or physically demanding event without touch-ups.
Waterproof Lip Liner Pencil Set £2.40
Used as a base layer under the glitter lipstick. Applies cleanly, does what it says, and gives the colour something to grip onto. Solid and unfussy.
How to Apply: Lip Liner Set
The instinct with a lip liner is to use it purely as an outline, but with a bold or glitter lip colour the better approach is to fill the entire lip surface. This creates a base that the colour on top can actually grip onto, which makes a meaningful difference to how long it lasts. Colour applied directly to bare lips has very little to hold onto, especially anything with glitter or shimmer in it. Take the liner across the whole lip in light strokes, build it up evenly, and make sure the edges are clean before moving on to the colour. It applies without fuss and the texture is smooth enough that it does not drag or catch. Think of it less as a liner and more as a primer step that happens to also define the shape.
After Five Hours
The eyeliner held. After five hours of performing, sweating under 95,000 lumens of stage lighting, the liner was still visible and largely intact. For £1.97 I genuinely did not expect that. It was the result of the night.
The mascara smudged. Given how it behaved during application this was not a surprise, but it’s worth saying clearly: if you need mascara that survives a long show or a hot day, bring something you already trust. (but lets be clear a lot of my viewers like the makeup to smear so if its what you need for your audience this is actually a great shout).
The lipstick was completely gone by the end. It looked incredible going in and I don’t regret it for a second, but five hours under that much heat is a lot to ask of a £1.32 glitter lip. If you’re wearing this for a long event, plan for touch-ups or use a very good lip liner base and set it well before you apply the colour. I would say it held for about 2 hours, which is more than many i have used in the past.
The Verdict
The whole haul came in under £20. For that, here’s what you’re actually getting: a white foundation with theatrical-level coverage that belongs in every creative makeup kit, a versatile all-in-one palette that earns its place, an eyeliner that is fussy to apply but genuinely durable once it’s on, a mascara to avoid for anything longer than a couple of hours, and a glitter black lip that looks absolutely worth it even if it doesn’t last the night.
Budget makeup can work. You just need to know what you’re buying and what you’re asking it to do. Most of this held up better than I expected under conditions that were, in hindsight, quite a lot.
I’ll be back with more, in the coming months.
Buy the Range:
Some links in this post are affiliate links. All products were bought with my own money and tested under genuinely extreme conditions.